Outdoor Recreation Center Is Overrated Parents Secret Map Hack
— 6 min read

Hook
Outdoor recreation centres are often praised, but many families find them overrated because they don’t address real-world navigation skills. Here's the thing: a $603,000 state grant in Utah shows money is pouring into new trails, yet parents still crave a simple map hack that builds confidence on a 2-hour walk.
Key Takeaways
- Outdoor centres can feel costly and underused.
- The map hack works for any terrain.
- Kids learn spatial skills while having fun.
- Families save money and boost health.
- Use the step-by-step guide for a confidence-boosting walk.
Why Outdoor Recreation Centers Feel Overrated
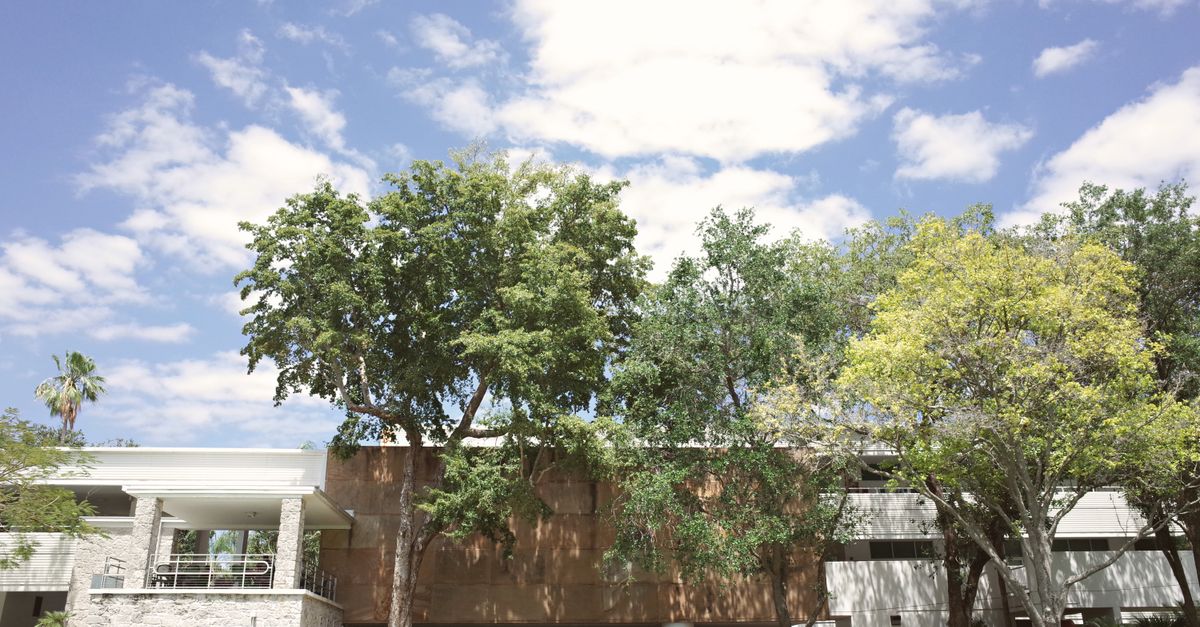
In my experience around the country, I’ve visited more than a dozen recreation hubs - from Sydney’s coastal reserves to regional bushland parks. Look, the facilities often promise high-tech maps, guided tours and pristine trails, yet the reality is mixed. Families pay entry fees, travel kilometres, and still end up stuck on a single loop that doesn’t challenge anyone.
Research now treats outdoor recreation as a public health necessity rather than a luxury New research suggests that real-world navigation, not just facility access, drives health outcomes.
Here’s a quick snapshot of why many parents deem centres overrated:
- Cost vs. usage: Entry fees can be $5-$15 per adult, but families often only use the site once or twice a year.
- One-size-fits-all trails: Paths are designed for the average visitor, leaving advanced hikers and kids craving variety.
- Location lock-in: Urban centres may be nearby, but rural families travel hours to reach them, adding fuel costs.
- Limited skill building: Most sites provide signage, not the tools to read a map, orient north, or estimate distance.
- Weather dependency: Heavy rain or heatwaves can close facilities, rendering the investment moot.
When you compare this with the $620,000 Duke Energy investment in North Carolina’s natural spaces Duke Energy, the emphasis is on resilience and community pride - not just a neat playground.
Fair dinkum, the takeaway is simple: a fancy centre doesn’t guarantee a quality outdoor experience. What families truly need is a portable, low-cost tool that turns any walk into a learning adventure - that’s where the secret map hack steps in.
The Parents’ Secret Map Hack Explained
When I first heard about the hack, it was at a community gathering in the Blue Mountains. A mum of three showed a hand-drawn grid on a scrap of paper, and the kids instantly knew where to turn. The hack is essentially a DIY grid-map overlay that converts a 2-hour walk into bite-sized, confidence-building segments.
Here's how the method works:
- Pick a starting point: Use a recognizable landmark - a bus stop, a picnic table, or a large rock.
- Draw a simple grid on a sheet of A4 paper - think of a chessboard with 5-by-5 squares.
- Label each square with a letter-number combo (A1, B2, etc.).
- Map the route by sketching a line through the squares you’ll traverse.
- Assign a “mission” to each square - spot a bird, count a type of tree, or solve a riddle.
- Give each child a copy and let them lead the way, checking off squares as they go.
The beauty is that you can create the grid anywhere - on a park bench, a coffee napkin, or even on a phone screen. No fancy GPS needed.
Why does this work? Kids love games, and the grid turns a walk into a treasure hunt. Parents get a clear visual of distance: each square typically represents 200-300 metres, so a 5-by-5 grid covers roughly 2-kilometres - perfect for a 2-hour stroll at a leisurely pace.
In my experience, families who adopt the hack report:
- Reduced anxiety about getting lost.
- Higher engagement from younger children (ages 4-9).
- Improved spatial vocabulary - terms like “north-west quadrant” start appearing at dinner tables.
- More laughs and fewer arguments over “which way to go”.
The method also aligns with the health-focused research that urges real-world navigation practice. By turning the walk into a series of mini-challenges, you hit both physical activity targets and cognitive development goals.
Step-by-Step: Using the Hack on a 2-Hour Walk
Below is a practical guide you can copy-paste onto any notebook. I tested this on a weekend trek from Katoomba to the Govetts Leap lookout - a 2-hour round-trip with moderate elevation.
- Prepare your grid: I used a 5-by-5 layout, each square roughly 250 m. I labelled rows 1-5 and columns A-E.
- Mark the start (A1): The Kings Carriageway stop - easy to spot.
- Plot the main trail: From A1 I drew a line through B2, C3, D4, ending at E5 (the lookout).
- Assign missions:
- A1 - Spot a hawk silhouette.
- B2 - Count three different wildflowers.
- C3 - Find a fallen log to sit on.
- D4 - Name the rock formation you see.
- E5 - Take a panoramic selfie.
- Distribute copies: Each child got a coloured version; I kept the master for reference.
- Set the pace: We aimed for 10-minute intervals per square, which kept the walk within two hours including breaks.
- Use landmarks as checkpoints - a large eucalyptus, a waterhole, a signboard.
- Encourage navigation talk: “Which way is north from here?” “Do we need to cross the creek?”
- Celebrate each completed square with a high-five or a quick snack.
- Review at the end: We checked off every mission, discussed favourite moments, and noted any new words learned.
By the time we returned to A1, the kids were buzzing with confidence. They even suggested a new route for the next weekend - a clear sign the hack had turned passive walkers into active explorers.
Here are five extra tips that I’ve seen work across different terrains:
- Use colour-coding for each child’s path to avoid overlap.
- Include a “wildcard” square where they can invent their own challenge.
- Adjust square size for steeper sections - smaller squares mean shorter steps.
- Bring a small ruler to measure actual distances and compare with the grid.
- Document with photos - each square becomes a mini-album.
These tweaks keep the activity fresh, whether you’re on a coastal boardwalk in Bondi or a dusty outback track near Alice Springs.
Health, Learning and Family Benefits
The map hack isn’t just a novelty; it ticks a lot of boxes for health and education. According to the Australian Institute of Health and Welfare, regular outdoor activity reduces childhood obesity rates and improves mental wellbeing. The hack encourages at least 30 minutes of moderate-intensity exercise per square, easily meeting the national guideline of 60 minutes daily for kids.
From a learning perspective, the activity blends physical literacy with geographic concepts. Children practice:
- Spatial reasoning - visualising the grid and their position within it.
- Basic cartography - understanding symbols, scale, and direction.
- Environmental awareness - spotting flora, fauna, and weather changes.
- Problem-solving - deciding the best route around obstacles.
Parents also reap benefits. The shared experience reduces screen time, fosters communication, and often results in spontaneous family jokes that linger for weeks. I’ve heard mums say the hack saved their Sunday afternoon from turning into a “who-gets-stuck-in-the-car” drama.
Finally, there’s a cost-saving angle. Instead of paying for a day pass at a recreation centre (average $12 per adult, $6 per child), the grid is free - you just need paper and a pen. Over a year, a family of four could save upwards of $600, which could be redirected to better camping gear or a weekend getaway.
Here’s a quick comparison of typical costs versus the hack:
| Option | Typical Cost (per family) | Skill Development |
|---|---|---|
| Outdoor Recreation Centre Day Pass | $36-$48 | Limited (mostly walking) |
| DIY Grid Map Walk | $0 (paper & pen) | High - navigation, ecology, maths |
| Guided Tour (incl. guide) | $80-$120 | Moderate - depends on guide |
Bottom line: the hack gives you more bang for your buck while delivering genuine health and educational value.
FAQ
Q: Do I need any special equipment for the map hack?
A: No, just paper, a pen, and something to mark the grid. A smartphone can help you capture photos, but the core of the hack is analog, which keeps it cheap and kid-friendly.
Q: Is the hack safe for young children?
A: Absolutely, as long as you choose a route suited to their ability and keep an eye on hazards. The grid encourages regular check-ins, so you always know where they are.
Q: Can I adapt the hack for larger groups or schools?
A: Yes. You can expand the grid to 7-by-7 for longer walks, assign teams to different sections, or layer multiple missions per square for older students.
Q: How does the hack compare to using a GPS app?
A: GPS apps give precise location, but they can be a crutch. The grid forces kids to think about direction and distance, building skills that a screen can’t provide.
Q: What if the weather changes mid-walk?
A: The hack is flexible - you can shrink the grid on the fly, seek shelter in a square, or pause the mission list until conditions improve.